PowerAda Getting Started Demo
This demo will walk you through the steps involved in using basic PowerAda features to build a small demonstration program and examine its source code. The program is a simple "hello world" program.
This demo will take about 10 minutes to complete.
You should have already created the temporary demo directory and working project. If you have not, please refer to "Required Setup" in the "Introduction" section.
Starting Powerada
Start powerada in the temporary demo directory by typing the following:
powerada
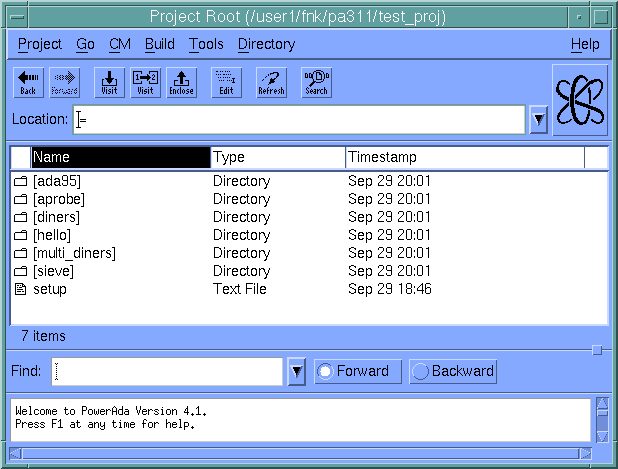
In a few seconds, you should see the powerada Navigator window: (If the window does not appear, see "Basic Troubleshooting".) The powerada Navigator will display the contents of the project root directory. At this point most of the directories and files from the baseline project are displayed ("shadowed") - they are in the baseline project, but not in your working project. The powerada Navigator will look like this:
For more on the navigator, see "Navigating" in Chapter 4.
On-line Help
If you are really just "Getting Started" you should try out the on-line help. Choose Contents from the Help menu in the upper right of the powerada Navigator window. After a few seconds, the help table of contents will be displayed in your HTML browser window.
Help is available on a number of general topics that are accessible from the table of contents. Help is also available for powerada dialogs by clicking the Help button located in the lower right of the dialog. There is a brief description of the dialog's functions, and links to more detailed sections of the User's Guide.
Building the Program
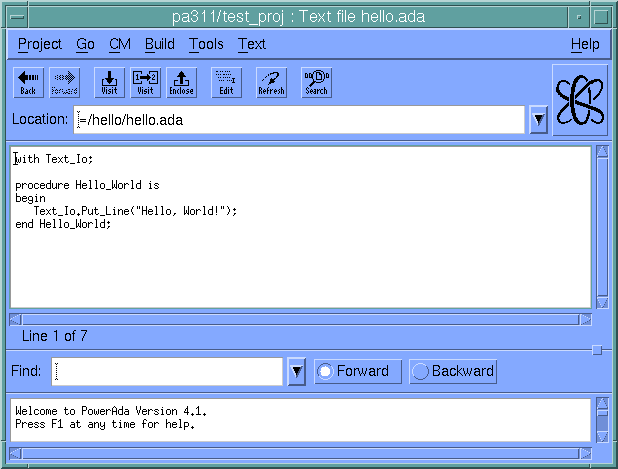
Returning to the powerada Navigator window, you need to navigate to the hello directory if you are not already there. The contents of the Location text field at the top of the window should be =/hello. If your current location is the Project Root (Location: =), double-click on the entry for the hello directory and powerada will navigate to that directory and show you its contents, just a single source file, hello.ada. You can examine the source file by double-clicking on its entry; do that now. Powerada will display its contents:
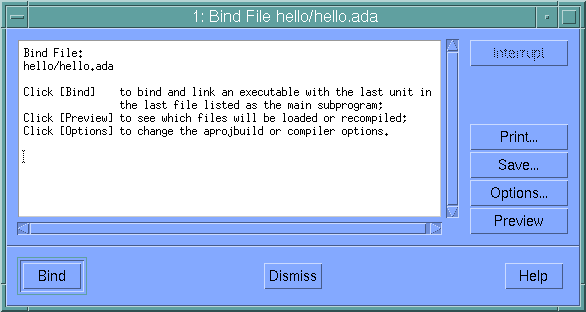
In this very simple case, you can load, compile, and bind the program right from here. Choose Bind Main from the Build menu and the Build Manager will display a build window ( See "Powerada Build Windows" in Chapter 4):
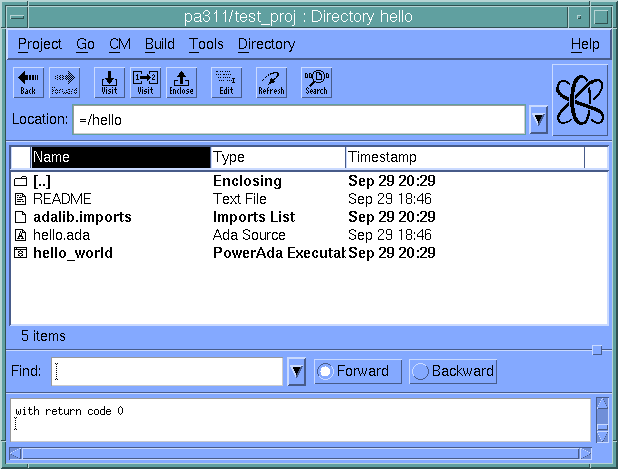
Click on the Bind button to start the build job. Powerada will load the source from hello.ada into a new sublibrary, compile the source to create the compilation unit hello_world, and bind the main unit to produce the executable hello_world. When the bind is complete, click the Dismiss button to remove the Build Manager window. Return to the directory display by clicking on the Back button in the button bar. The directory looks like this:
The newly created executable is present and displayed in a bold font. This indicates that it is a local file in the working project. An adalib.imports file has been added to the project ( See Multiple Directories Demo for details).
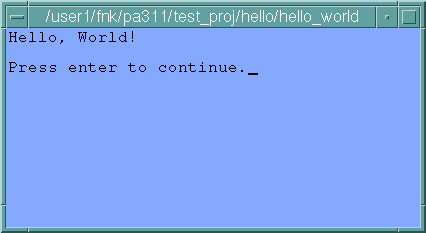
Now you can run the program to test it. Select the hello_world executable with a left-click, then choose Run Program from the Directory menu. You will get a Run Program dialog - just click Run and Powerada will open a shell window and run the program there:
That's the end of the demo. You can now exit powerada by choosing Quit from the powerada File menu, move on to the next demo, or try your own program.

